| Home Mods Forum Tutorials |
| How to start modding Texture modding Map modding |
Texture modding | |
Prop/vehicle texture moddingFor this tutorial you will need.
You can find all the vehicle/prop textures here BFHeroes\mods\bfheroes\Objects Remember textures are kept in "_client" files. Now lets open up "Vehicles_client" and find the tank. The textures for the national tank are located in "ger_tank_panzeriv/texures" just drag and drop the GER_Tank_PanzerIV.dds file in photoshop. (or alternativly extract it somewhere) When a window pops up sellect "Load using defult sizes" and hit ok. Now feel free to moddify the tank to your likeing. Ounce you are done, go to save as select the D3D/DDS format, dont change the name. Save it anywhere. Now find the file and drag it in "Vehicles_client.zip\ger_tank_panzeriv\textures" (aka the place from where you orginaly got it) Now launch battlefiled heroes, and go in to the tutorial. If you did everything corectly, the tanks texture should be changed. You can also apply this method to any other vehicle/prop texture. Also if you found this tutorial too hard to fallow, take your time and whatch this video. Rigital Clothing texture moddingFor this tutorial you will need.
Now you should find the clothing you would like to retexture. Open Items_client.zip
Open the .zip file and you should find all the clothing available in BFH, the files are split up in two factions British (Royals) and German (Nationals) Open either one, and now you should see a large list of folders, open, ounce you have chosen the folder you would like to change, open it up and you should find the clothing file. Drag it in photoshop (or any other image editor that supports .3tga files) Now you are free to retexture the texture to your liking. When you're happy with the changes save the file in the same format (.tga) preferably save it to your desktop, and drag it in the .zip replacing the file you chose to retexture. Examples: 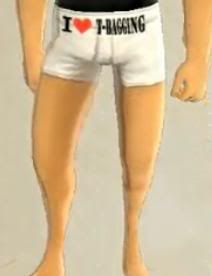 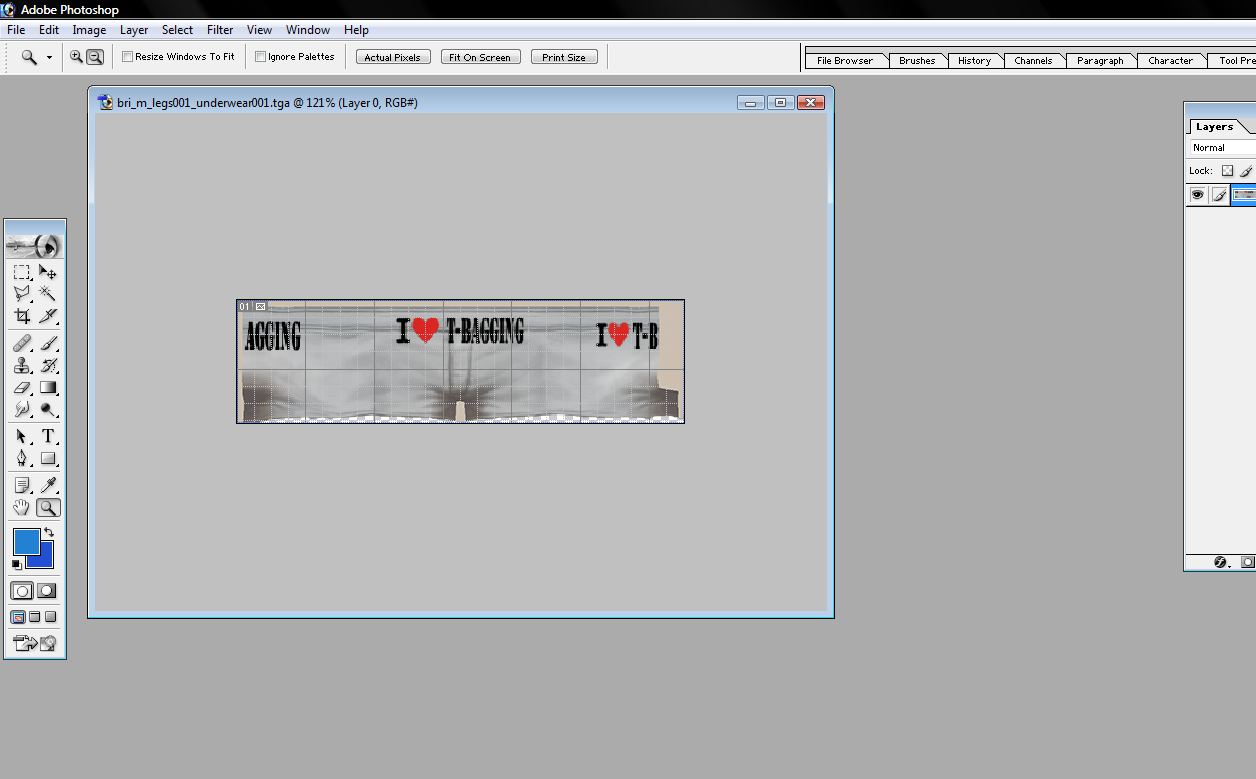 Pro_Modder |
| Source: | |||||||
| |||||||
